Building A Garden Arbor!


In this tutorial we are going to build build a garden arbor that has a level arch as seen below.
I did a little research on this project and discovered that most decent arbors that are for sale are hundreds of dollars. And mostly they are made of wood. The metal ones are decent but use cheap materials and you have to put them together.
Either way, if you buy or build a wood one it's eventually going to rot. Although, the wood may fit your style. So it's all in the eye of the beholder.
However, I am very partial to steel because you can paint or powder coat it, and it will last for ages. But I am also looking for reasons to work with metal, so I am biased.
MATERIALS REQUIRED:
- 66.5 feet of hot rolled steel square tubing: 1” X 1” X .065” (16 GA).
- 68.5 feet of hot rolled flat bar: 0.50” X 0.125”.
Garden Arbor Parts:
Use the part numbers on this image to cross reference with the steps to building the basic garden arbor shown above (left). The 7 building steps are below.
This image is one part of the 18 page set of plans we have in pdf format. This PDF also includes details and blueprints for the curved arch.

Build A Garden Arbor In Just 7 Steps!
Step 1: Cut all part numbers GA-01 (qty 4), GA-02 (qty 9), GA-03 (qty 2), GA-04 (qty 2), GA-05 (qty 4), and GA-06 (qty 22) according to their attached drawing CUT SHEET (the image above).
Step 2: Gather parts GA-01 (qty 2), GA-02 (qty 1), and GA-04 (qty 1). Lay them out on the welding surface and position them according to drawing GA-A01 and the below drawing.
- Tack weld the parts in place the double check alignment and right angles. Complete all the welds.
- Repeat Step 2 to fabricate the other side of the Garden Arch.
- Put completed weldments aside.

Step 3: Gather parts GA-02 (qty 7) and GA-03 (qty 2). Lay them out on the welding surface and position them according to drawing GA-A02 and the below drawing.
- Tack weld the parts in place and double check the alignment and right angles.
- Complete all the welds and put the weldment aside.
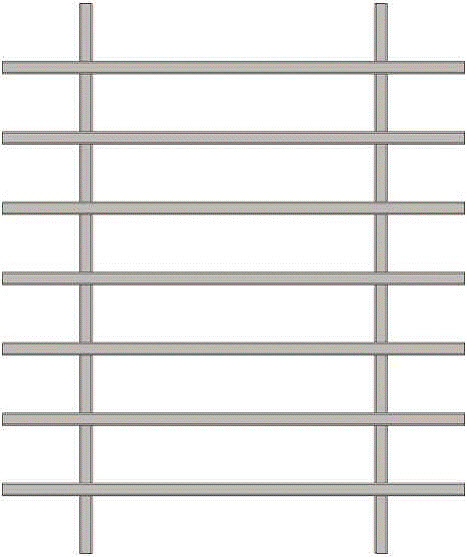
Step 4: Gather parts GA-05 (qty 2) and GA-06 (qty 11). Lay them out on the welding surface and position them according to drawing GA-A04 and the below drawing.
- Tack weld the parts in place and double check alignment and right angles.
- Complete all the welds.
- Repeat Step 2 to fabricate the other side of the Garden Arch.
- Put completed weldments aside.

Step 5: Gather weldments GA-A01 (qty 2) and GA-A02 (qty 1). Lay them out on the welding surface and position them according to drawing GA-A03 and the below drawings.
- Tack weld the parts in place.
- Double check alignment and right angles. Complete the welds.


Step 6: Gather weldments GA-A04 (qty 2) and position them inside each of the sides of the Garden Arch (some of the ends of the lattice may have to be grinded to fit inside) this is because of shifting/bending/pulling during the welding process.
- Tack weld the parts in place and double check the alignment and right angles.
- Complete the welds.
Step 7: Paint or powder coat as desired.
If you feel there is information missing or you have questions let me know. Otherwise please share this project...
Copyright WcWelding.com All Rights Reserved.


Welding Plans:

New! Welding Table
New! Log Splitter
Top Projects:
