How To Build A Garden Bench!
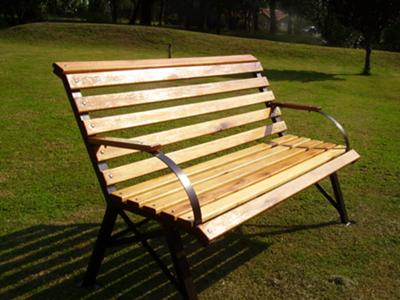
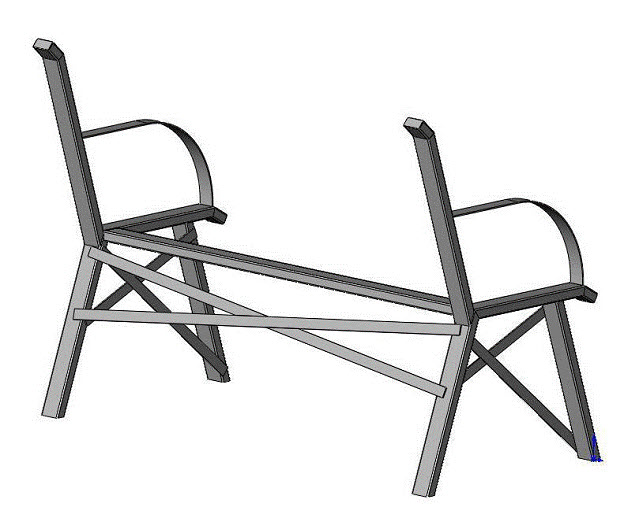
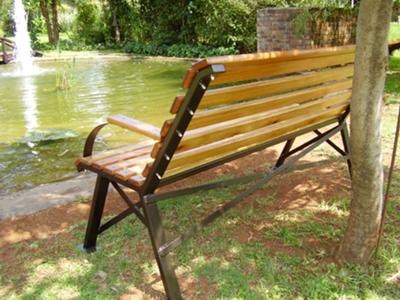
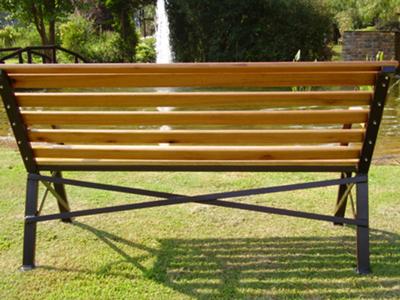
A subscriber of ours, by Ras Buys, built this garden bench from our plans, and it came out really well, don't you think? Build one yourself!
MATERIALS REQUIRED:
- 17 feet of mild steel rectangular tubing: 1 inch X 2 inches. 16 Gauge.
- 15 feet of steel bar stock or strap: 1 inch X 1/8 inch.
- Mild steel sheet: 1 inch X 8 inches. 16 GA.
- Mild steel sheet: 4 inches X 12 inches. 11 GA.
- 26 screws: Flat head. Self tapping: #10 X 1.24 inches long.
- 4 screws: Flat head machine. #10-24 UNC X 1.25 inches long.
- 4 dome nuts: #10-UNC.

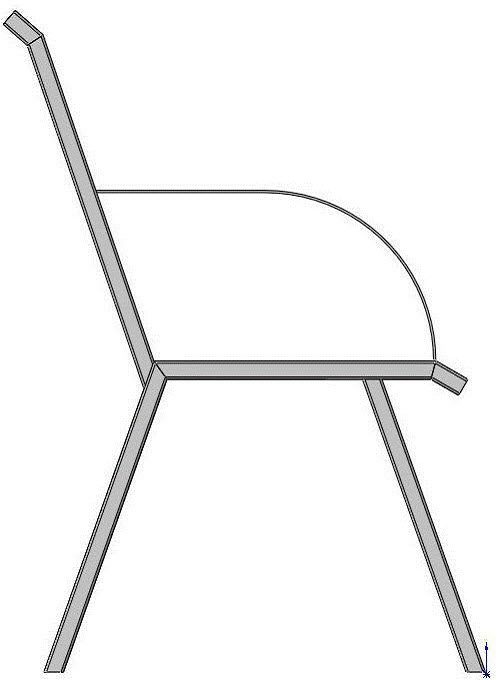
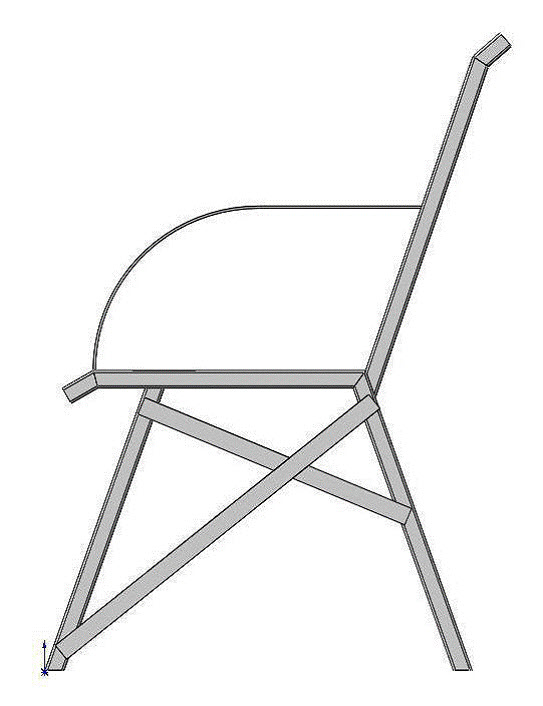
Garden Bench Weldments:
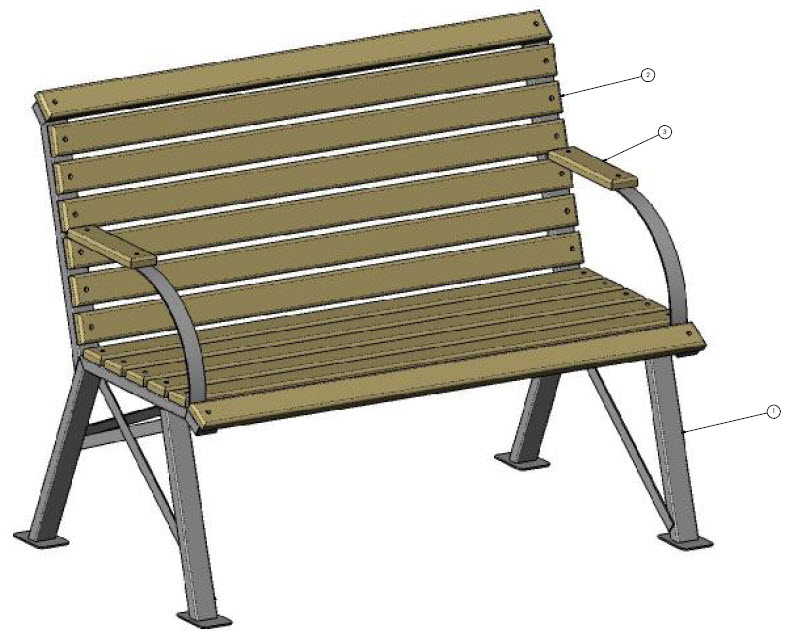
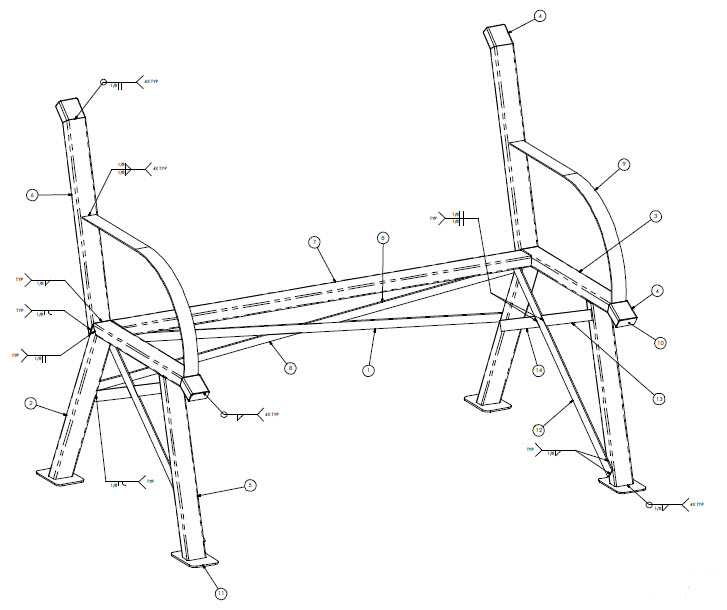
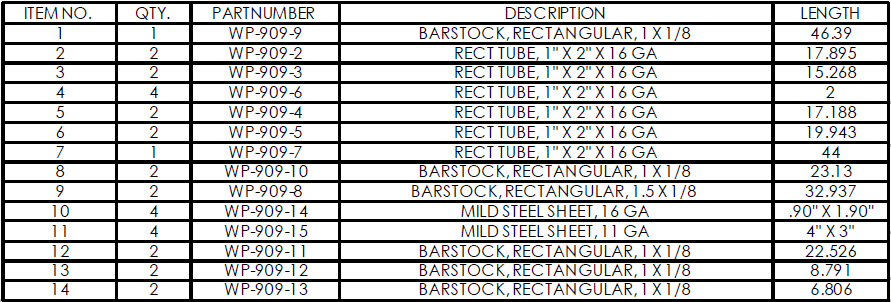
The detailed weldments for each part of the bench are below. If you need something a bit more detailed here is the pdf. It's just one page and it should be fine. However, you can get a detailed 14 page set of these plans here.
18 Steps To Building A Garden Bench!
Step 1: Cut part numbers WP-909-2, WP-909-3, WP-909-4, and WP-909-6 according to drawingWP-909.
Step 2: Lay the parts out on a flat work surface. Position them according to the dimensions on the drawing. Tack weld them in place. Check alignment and complete the welds.
Step 3: Cut part numbers WP-909-5 and WP-909-8. Form part number WP-909-8 to the dimensions shown on the drawing. This is the arm rest. Tack weld the parts in place on the previously created sub-weldment as shown on the drawing. Check alignment and position and complete the welds.
Step 4: Cut part numbers WP-909-11, WP-909-12, and WP-909-13.
Position them on the sub-weldment as shown on the drawing and tack weld in place. Check alignment and position and complete the welds as per the drawing. The resulting sub-weldment is the end of the bench frame.
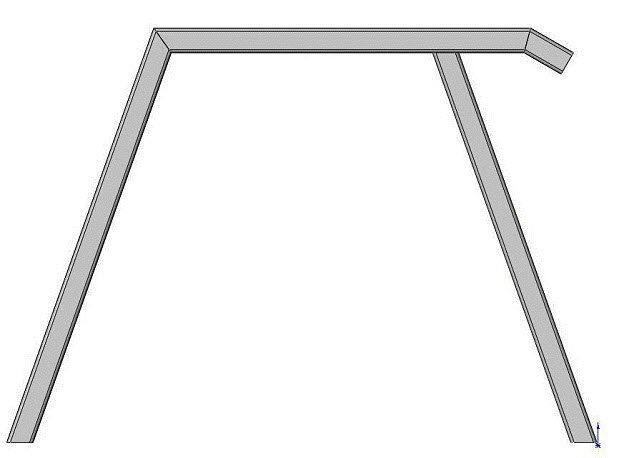
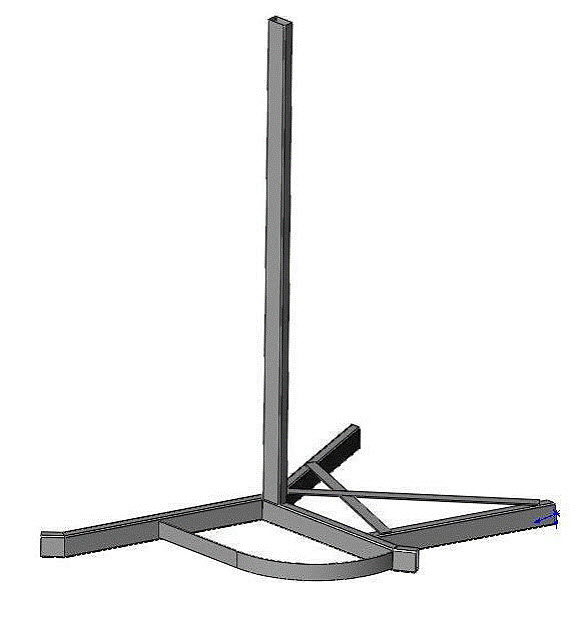
Garden Bench Frame End Weldments:
Step 5: Repeat step 4 with on exception; before welding part numbers WP-909-11, WP-909-12, and WP-909-13, flip the frame over and weld them on the other side. This way, there will be a left and a right hand Bench Frame End Weldments.
Step 6: Cut part numbers WP-909-7, WP-909-9, and WP-909-10.
Step 7: Place on of the Bench Frame End Weldments on the flat work surface with the 1” X 1/8” steel strap on top (see below). Weld WP-909-7 to End Weldment, referencing the drawing for position. Make sure it is vertical. This is important for proper bench alignment and will effect how straight the bench is when completed.
Step 8: Hold or brace this weldment so the End Frame is vertical, as it would be when in use.
Step 9: Position the other End Frame at the open end of the crossmember (WP-909-7). Position the End Frame according to the drawing and tack weld in place. Check alignment and position and complete the welds.
Step 10: Position part numbersWP-909-9 and WP-909-10 as shown on the drawing and tack weld in place. Check position one more and complete the welds.
Step 11: Cut part numbers WP-909-14 and WP-909-15. Position part number WP-909-14 (tube endcaps) and weld in place. Position part number WP-909-15 (foot plates) per the drawing and weld in place.
NOTE: The foot plates can be left the way they are, or drilled for mounting bolts if the bench will be mounted to a cement pad of wood decking, etc.
Step 12: Paint of powder coat as desired.
Step 13: Cut the wood slats and arm rests (wp-909-16 and WP-909-17) from 1” X 3” lumber; a wood of your choice. Route the edges all around with a ¼” radius bit. Drill through as indicated for flat-head screws. Paint, stain, or preserve the wood pieces as desired.
Step 14: After the wood and garden bench frame are allowed to completely dry, position the wood slats as indicated on page 1 of the drawing. Beginning where the back meets the seat, place the first slat on the seat of the bench frame weldment. Attach with the self tapping screws, on in each end. Continue to place each slat in turn with the indicated spacing.
Step 15: In like manner, attach the back rest slats.
Step 16: Clamp the arm rests in position according to the drawing. Using a #7 drill bit, use the holes in the arm rests to drill through the steel arm rest bows (WP-909-8 welded to the bench end frame).
Step 17: Attach the wood arm rest pieces with the #10 flat-head machine screws and the dome nuts. The dome nuts will be positioned under the arm rests.
Step 18: Place the completed garden bench in the most relaxing or scenic place in your garden or property.
Copyright WcWelding.com All Rights Reserved.
Welding Plans:
New! Welding Table
New! Log Splitter
Top Projects:
