Saw Horse Plans!
These plans for a metal saw horse are useful projects. You'll learn how to build two different types.
These are vintage plans, but they are good and simple ones. I like the old stuff. Call me old school or old fashioned. But if it works, don't fix it.
Adjustable Roller Saw Horse Plans!
 |
 |
Materials Needed:
- 2.5 feet of 1.25 inch pipe.
- 19 feet of .75 inch pipe.
- 8 inches of 1.25 x .25 inch flat bar.
- 3 inches of 1.5 x .25 inch flat bar.
- 2 feet 9 inches of .5 inch rod.
- 2 .5 inch nuts.
- 2 3/8 inch x 1 inch machine bolts.
- 2 7/16 inch flat washers that have a .5 inch hole.
How to build it:
- Cut 1.25 inches of the pipe. This is going to be the stationary part of the horse. You'll want the ends of the pipe to be sealed, so weld .25 inches of plate on each end.
- After that, drill a hole in the center of each end and tap the hole. The hole will be drilled with a 5/16, and the tapped threads will be 3/8.
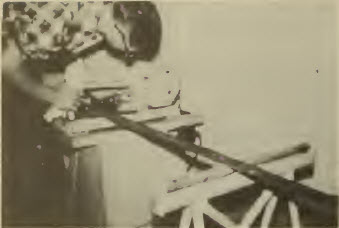
- Take the .75 inch pipe and cut them for the braces and the legs for the saw horse. Then, grind down the ends of the so that you get them fitted at the right angles. Next, you are going to do a little welding. So now what I want you to do is weld these parts to the 1.25 inch pipe.
- Now, I want you to make the end plates. Refer to the drawing below for how it will be cut, and where the holes need to be drilled on it.
- Next, build the roller part of the saw horse out of the .75 inch pipe. You will need to get one of the washers on the materials list below, and weld one to the ends of this roller. After you do that you need to get a .5 inch rod to slide through your new roller you just built. Make sure you thread the ends of the rod, and then fix it in position.
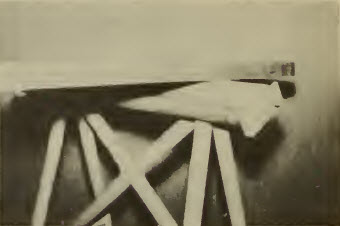
- If you want to use the roller then what you want to do is simply raise it and fasten it in position by tightening the bolts. You can also use this horse as a fixed support by loosening up the bolts for the roller and tilting the plates so that the roller part goes under the level top of the horse.
Side View:


Angle Iron Saw Horse Plans:

Materials Needed:
- 4 feet of 3 inch x 3 inch x .25 inch angle iron.
- 9 feet of 2 inch x 2 inch x .25 inch angle iron.
How to build it:
You can build one horse but most will build two. What good is one horse? Anyway, this is very simple welding project and the measurements can be tweaked for whatever you need.
One way to make this happen is to draw out the legs either on your garage floor, or use paper. This way you can make cuts at the angles right angles. You can also use a T bevel on the other pieces so that you get the same cuts on the other pieces.
Tack the angle iron in place and make sure they are true. If you are satisfied then finish your welds.
Angle Iron Front View and Side View:

Copyright WcWelding.com All Rights Reserved.


Welding Plans:

New! Welding Table
New! Log Splitter
Top Projects:
