The Endless Smoker Build!

First off, let me begin by admitting that this smoker build project in the beginning was a seed of an idea that I had because all I wanted to do was build a smoker.
Never did I dream that it would take me from the beginning of 2012 until the middle of 2015 to build the dang thing, or just how massive this thing turned out to be.
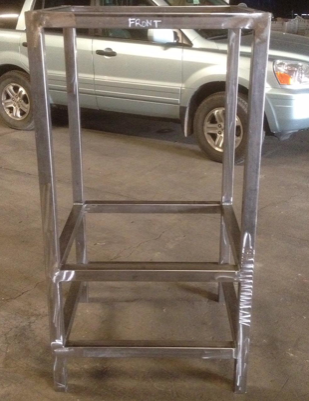
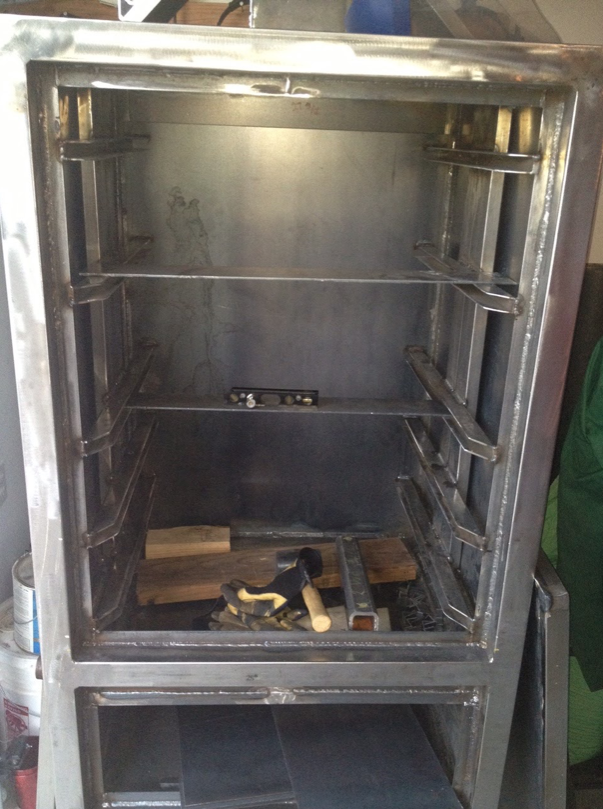
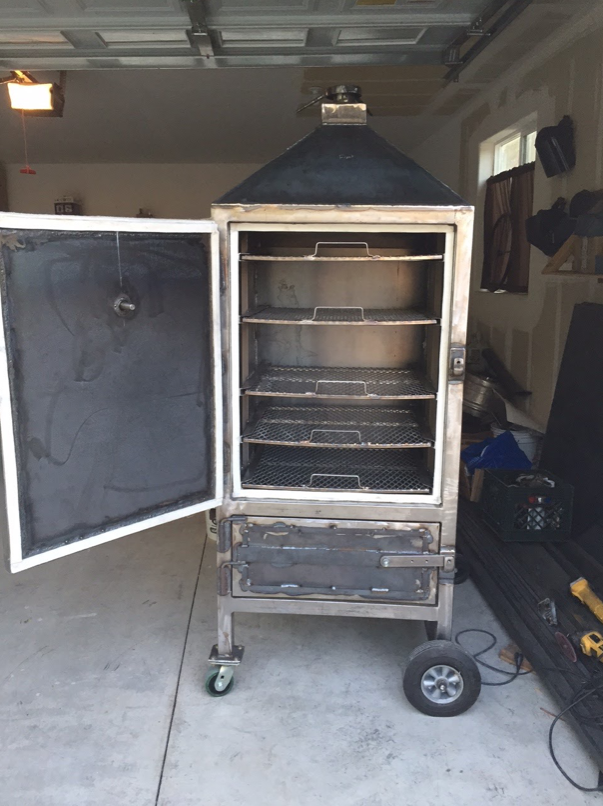
Below you can see the very start of the project:
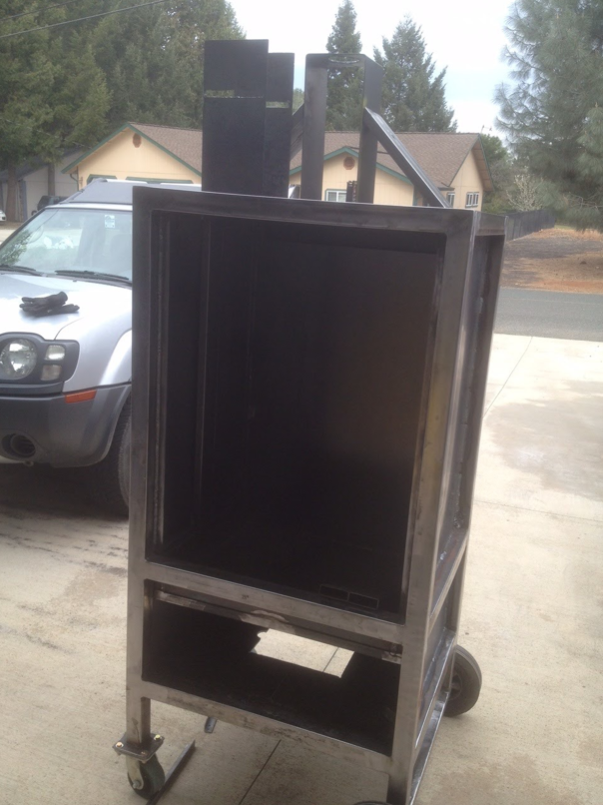
1. The frame welded together.
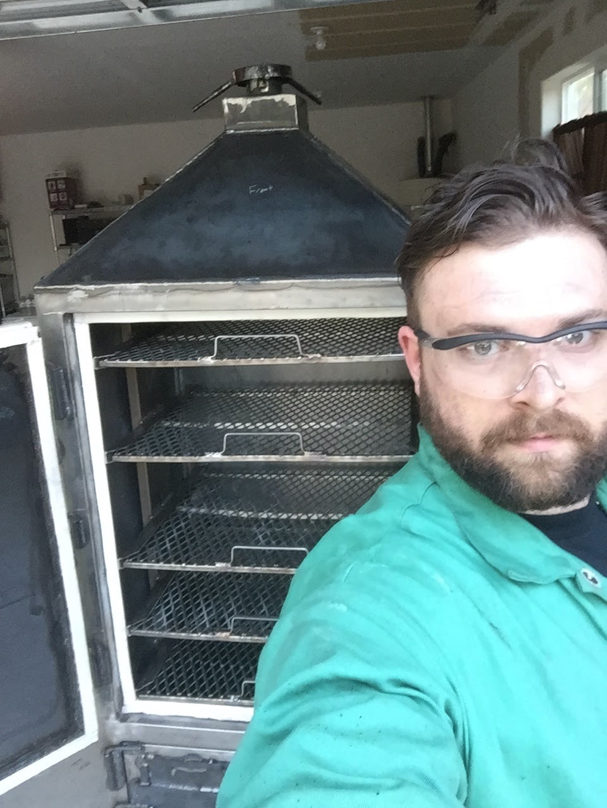
2. Me sitting in the door space of the front to give folks a size perspective (I’m 6’ and in this picture and at the time weighed in at 295) of the smoker.
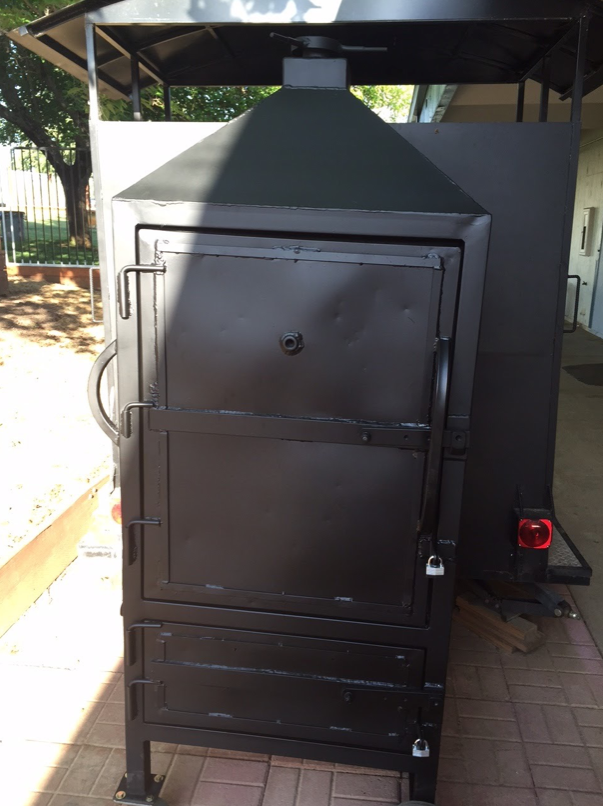
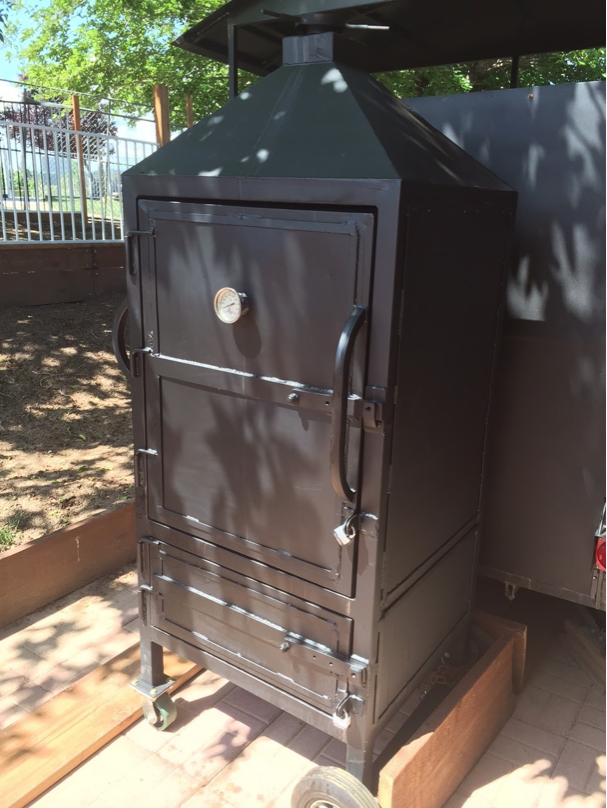
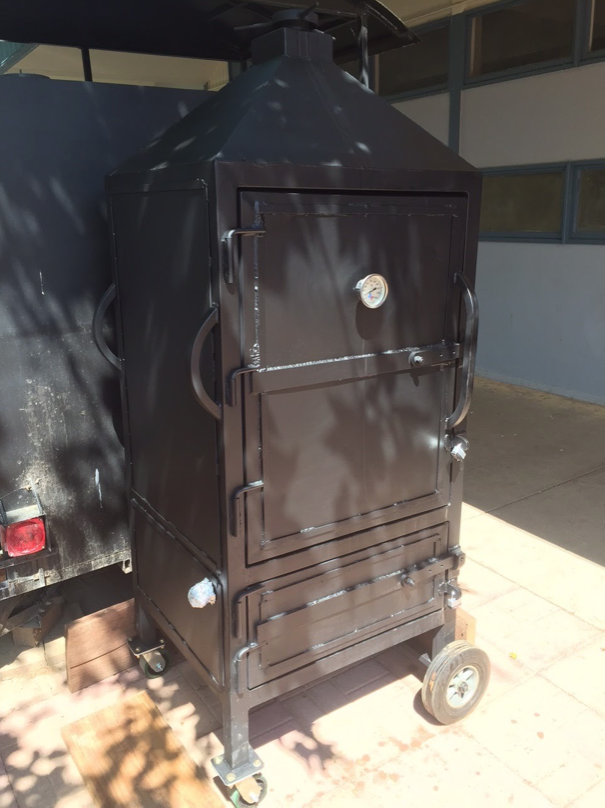
This thing is big with finally 3 the finished result all painted up with locks on the door because it was purchased by a High School Culinary Program and he wanted to keep the cooking grates (all stainless) and the propane burner safe from the high school hooligans, hence the locks.

My buddy who I sold it to at the high school said he used it already 5 times and has gotten great results with it. He can finish pork butts in 5-6 hours with a very nice smoke ring around the meat, also just last Wednesday he did a brisket that we're slicing up tomorrow for a staff party that was impressive to say the least. It's been working well and holds around 150-160. I'd like to see it get up to 225-250, so I'm thinking about increasing the hole on the propane burner jet to get some higher btus.
I remember reading some forum thread on the smoke ring and there were several others that charted their builds. I never have until now. It was an afterthought to write up what I had accomplished, but I’m proud to have been asked to do a write up about the build.
Unfortunately, I don’t have any specially drawn up “plans” on how to build this monster, but if you’re into building things chances are with pictures and a BOM you can figure the majority of the small details out. I pretty much used the dimensions found on pitmakers site and worked my way backwards and ended up with what was finished.
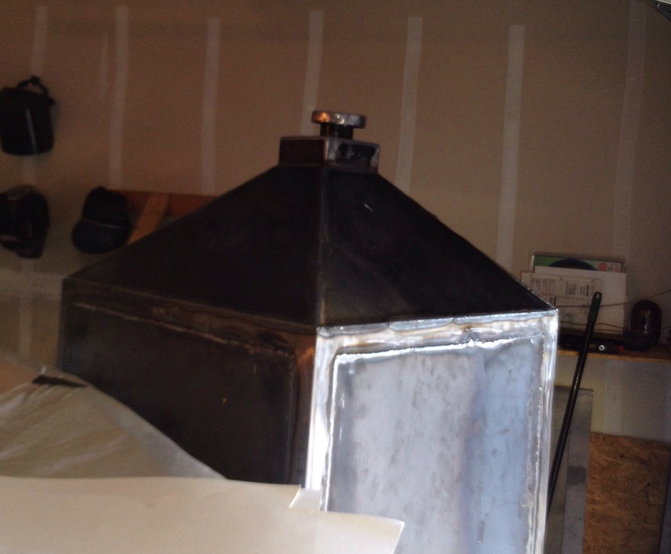
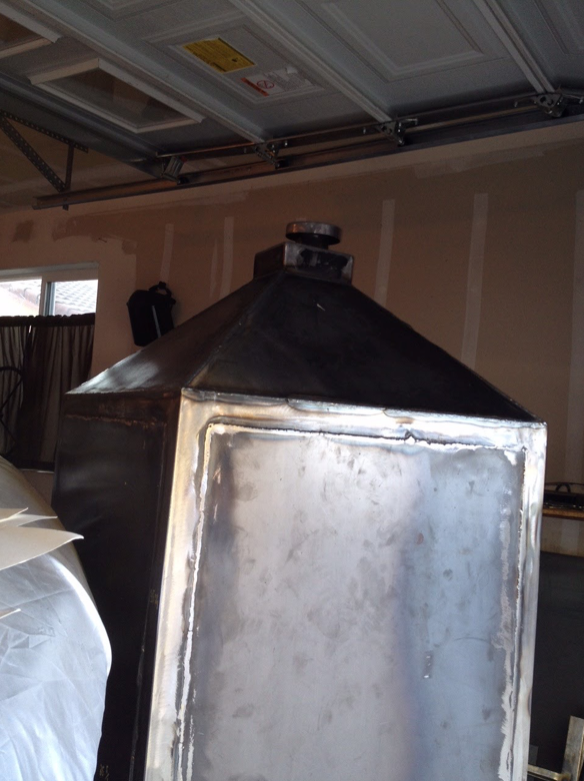
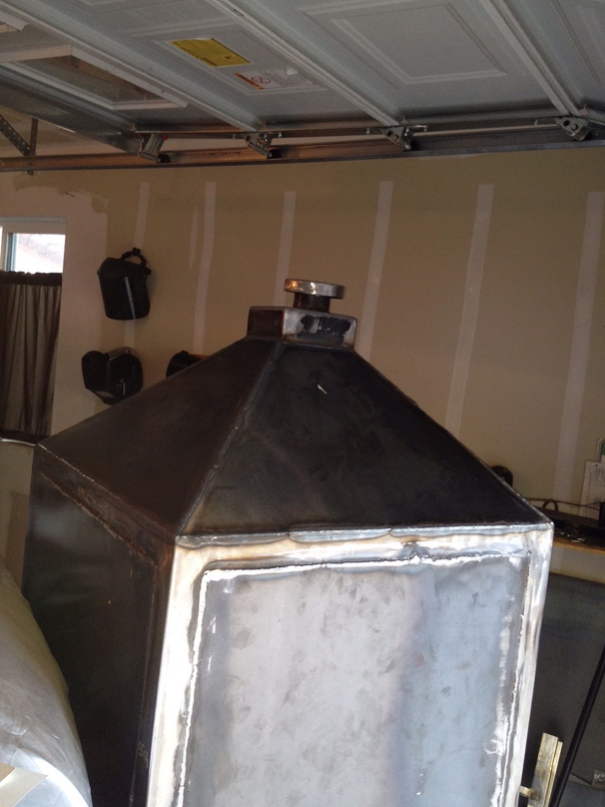
The smoke stack was probably the most challenging because it was one of those, “I’m going to make this work no matter what” parts of the build and I’ll attempt to give more specifics about what was done. In hindsight, if I were to build another smoker like this I would probably start from the inside and work my way out instead of what I did...build from the outside in.
Project Notes:
A few project build notes:
This was my first smoker build.
This was a Pitmaker Smoke Vault Inspired “Clone” (Pitmaker Smoke Vault) of my own backwards engineering and research from other builds found on the internet. I will attempt to document the order in which this build was completed and give any pointers on what I have learned about this build, which is a ton!!
Was it expensive to build? yes. There is a lot of metal in this smoker and I’m betting it’s weighing in somewhere in excess of 800 lbs.
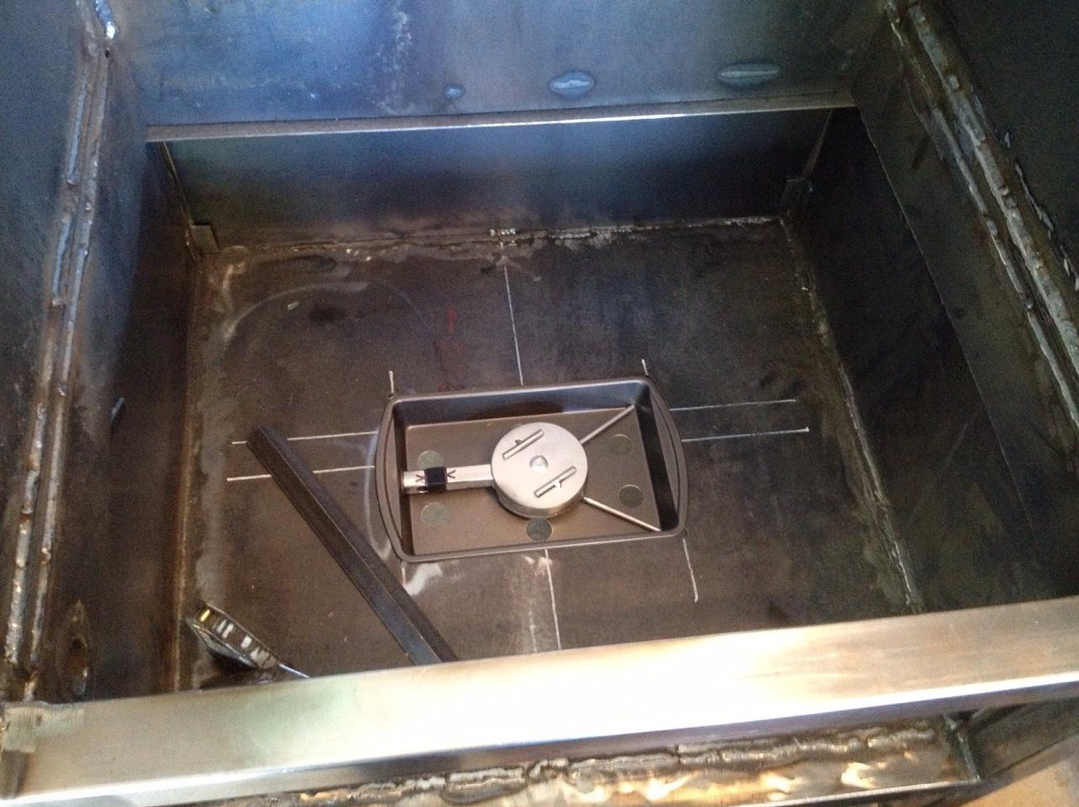
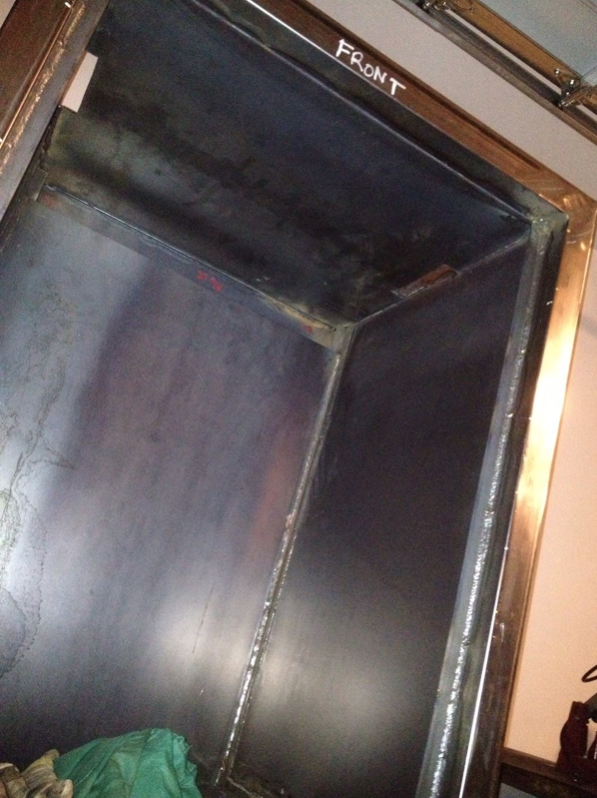
It is insulated by ceramic fiber 2” thick (fiberfrax and fired by a small 14K Btu Propane burner from www.gassmoker.com I’ve converted 3 pre-fab smokers using burners from this site and cannot speak enough good things about his service and quality products.
I used the Nomex self-adhesive gasket from www.bbqgaskets.com.
Bill Of Materials For The Smoker Build:
- 60’ of 2”x2” Square Tube .083” wall for smoker frame
- 20’ of 1.5”x1.5” Square Tube .120” wall for cook chamber and firebox door frame
- 20’ of 1”x3” Rect Tube .083” wall for smoke to outlet into smoke stack from cooking chamber
- 20’ of 1”x3” Rect Tube .120” wall plasma cut in half for cooking grate slides
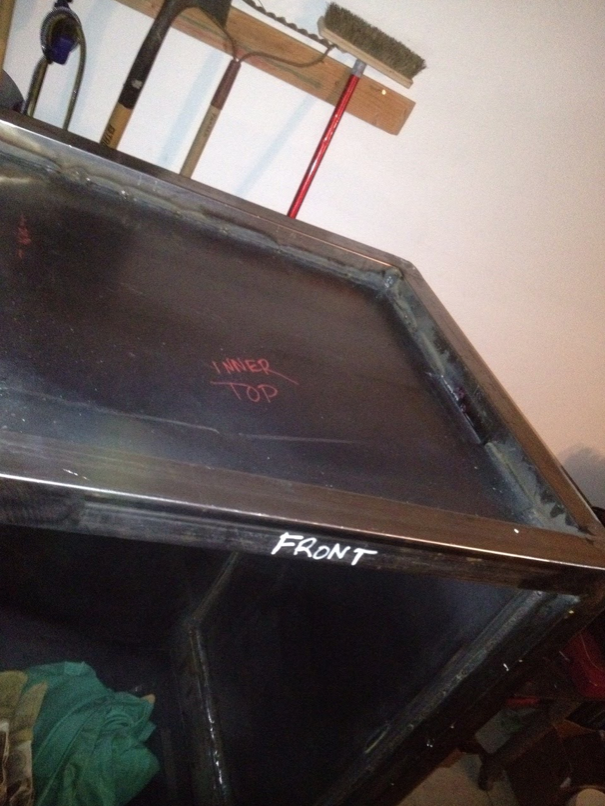
- 1.5-2 Sheets of 10ga (48x96 Sheets) inner wall
- 1@27.5”x36.25 and 1@27.5”x12” for inner wall back side of smoker
- 2@24.25”x36.25” and 2@24.25”x12” for inner wall left/right side of smoker
- 1@24.25”x32.25” and 1@24.25”x8.25” for inner wall of cook chamber and firebox door
- 1.5-2 Sheets of 14ga (48x96 Sheets) outer wall and top “pyramid”
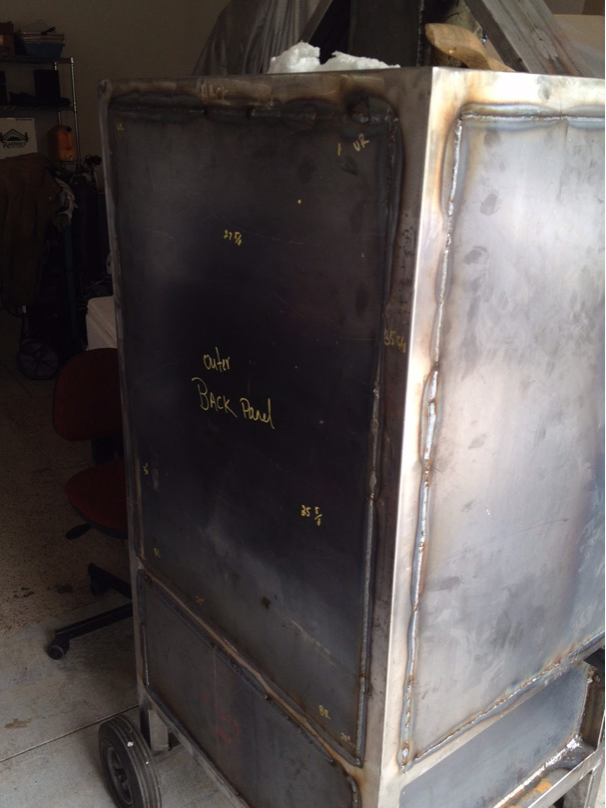
- 1@27.5”x36.25 and 1@27.5”x12” for outer wall back side of smoker
- 2@24.25”x36.25” and 2@24.25”x12” for outer wall left/right side of smoker
- 1@24.25”x32.25” and 1@24.25”x8.25” for outer wall of cook chamber and firebox door
- cut pieces to fit top pyramid or however one chooses to finish the top
- 2 @ 24.25”x 27.5” pieces of 1/4” Plate for firebox bottom and cook chamber top
- 1 @ 27”x22.5” piece of 3/16 Plate for “water pan” base of cook chamber
- 40’ of 1”x1”x 1/8” angle iron for framing cook chamber from firebox
- 1/2” round bar for male part of hinges for cook chamber and firebox door
- 3/4” round tube for female part of hinges for both doors
- Several 10# spools of welding wire ER70S6 in .035 or .023/.024 (Honestly for a project like this I preferred using the smaller wire).
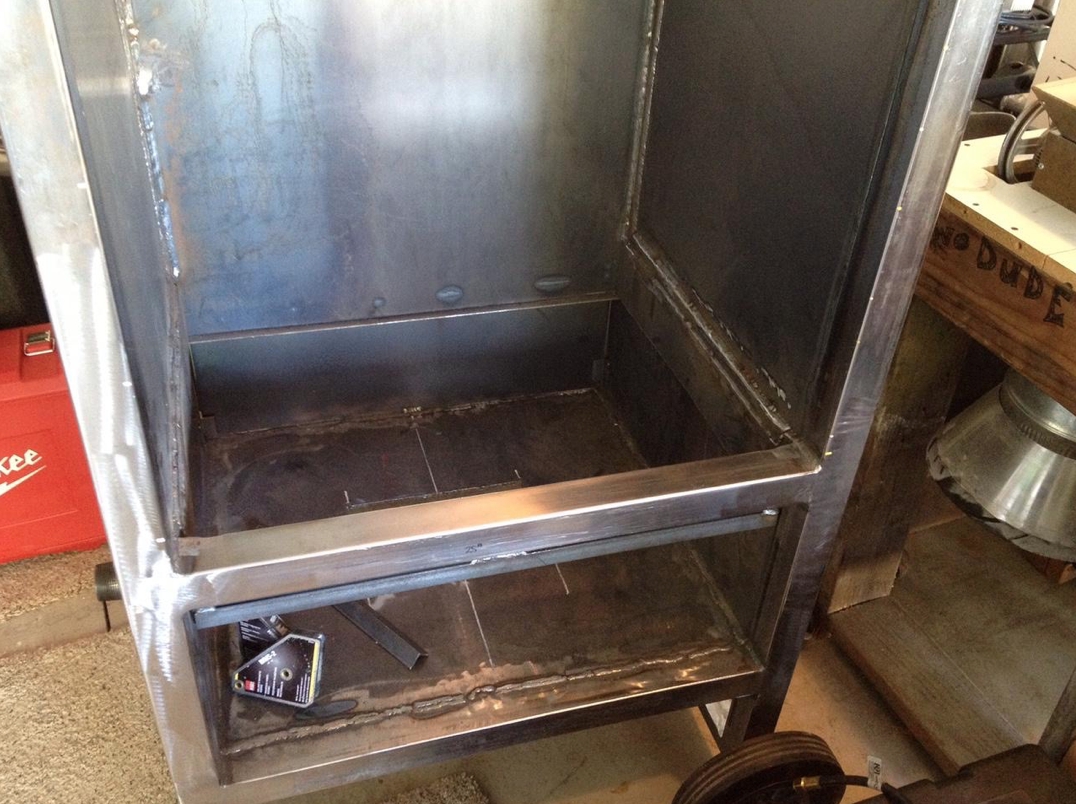
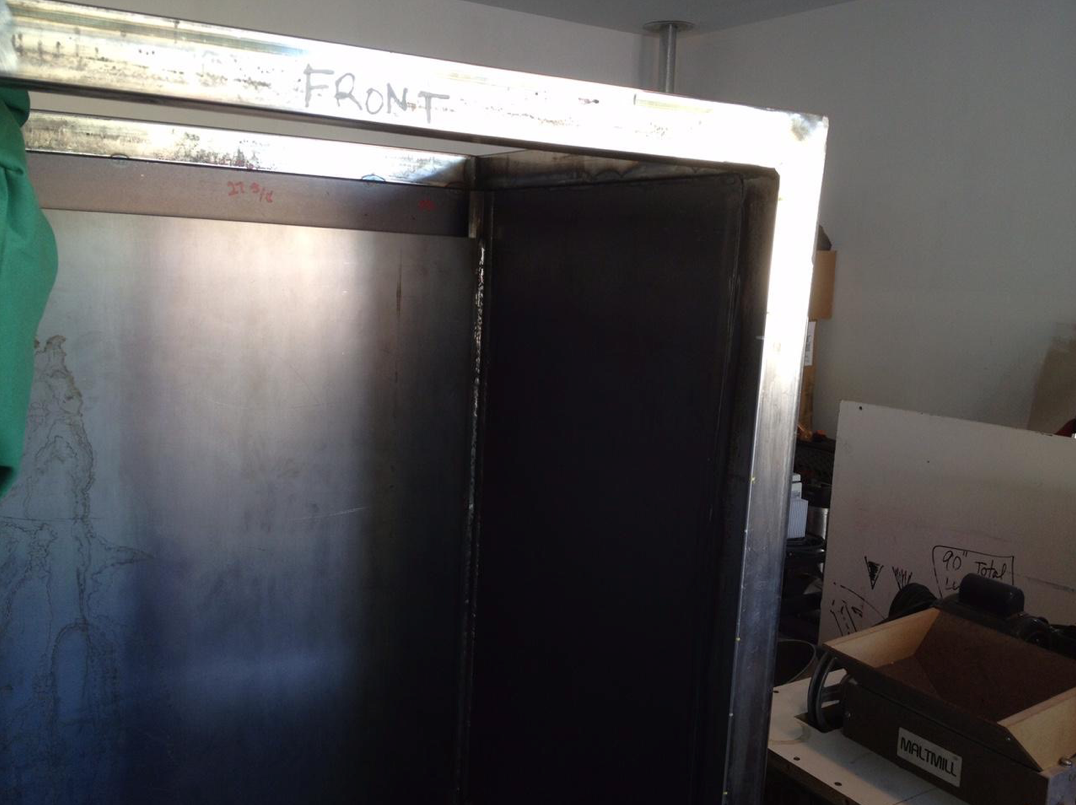
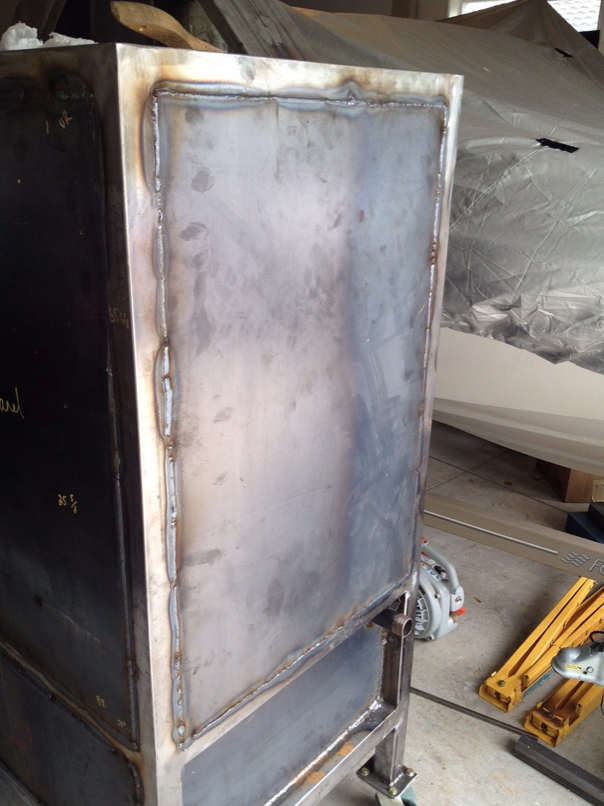
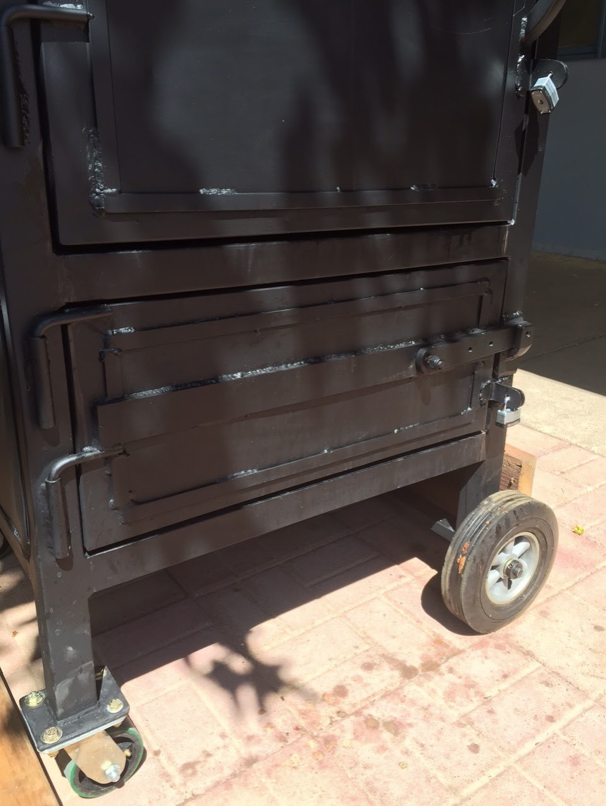
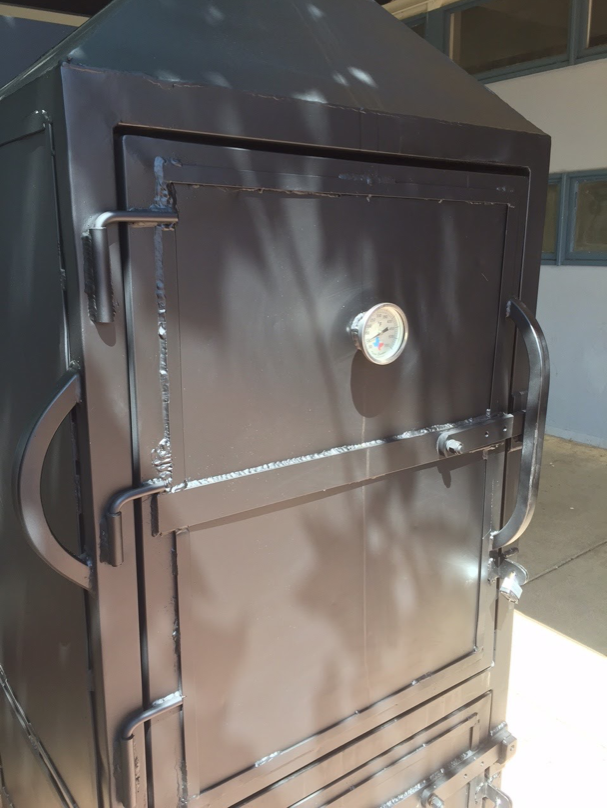
Images Of How I Progressed With The Smoker Project Including The Final Product!


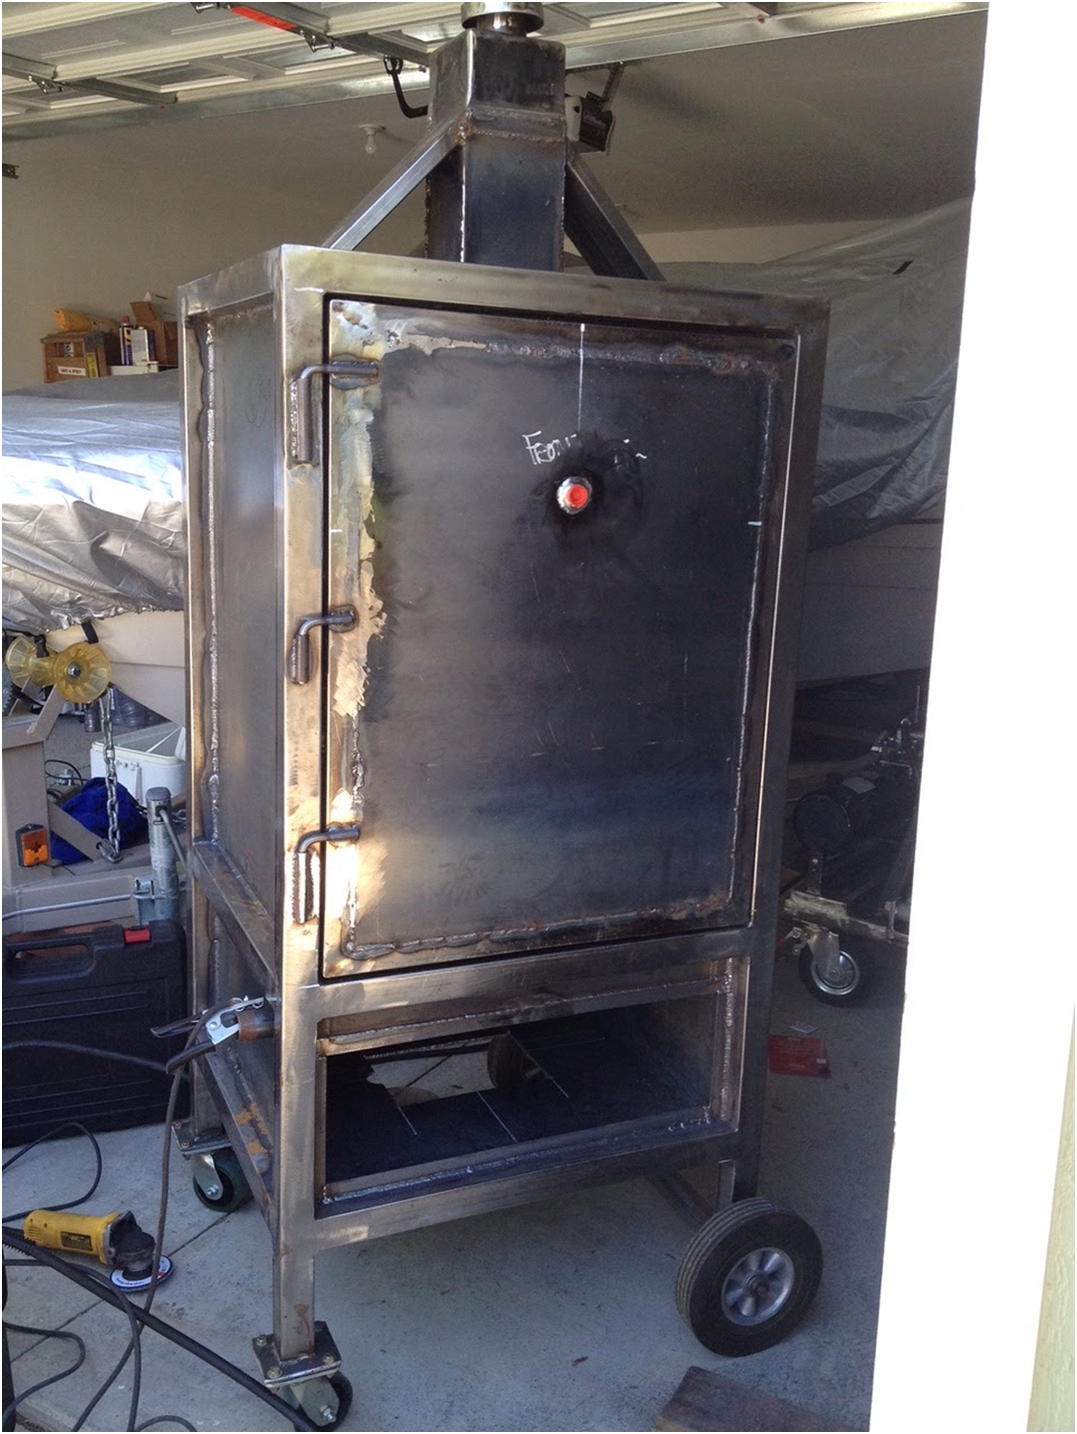
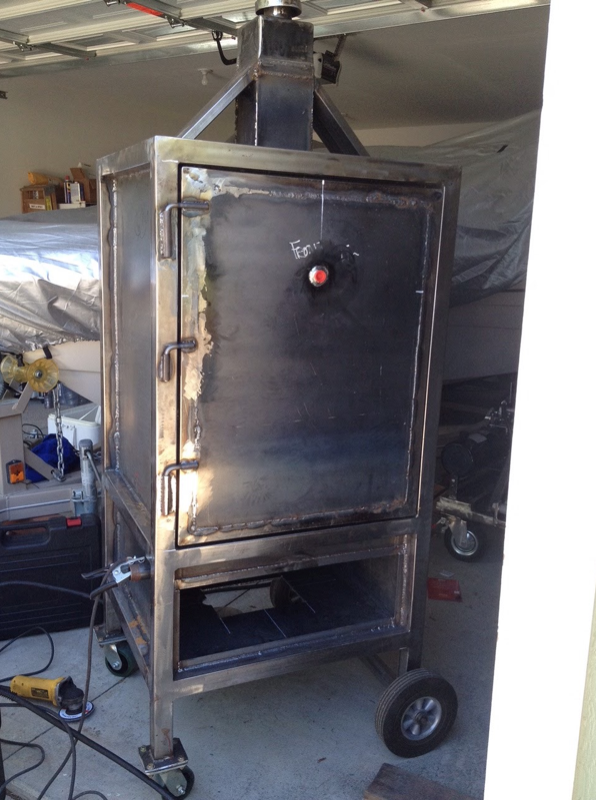
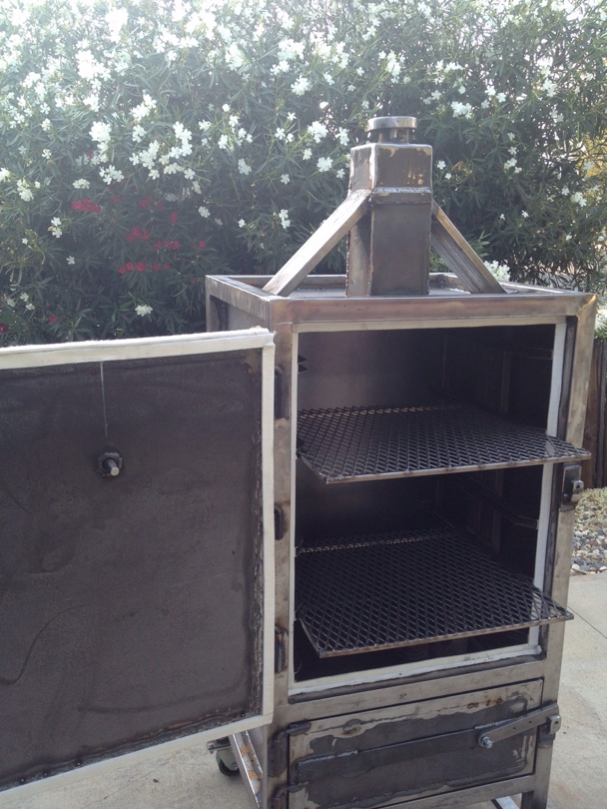
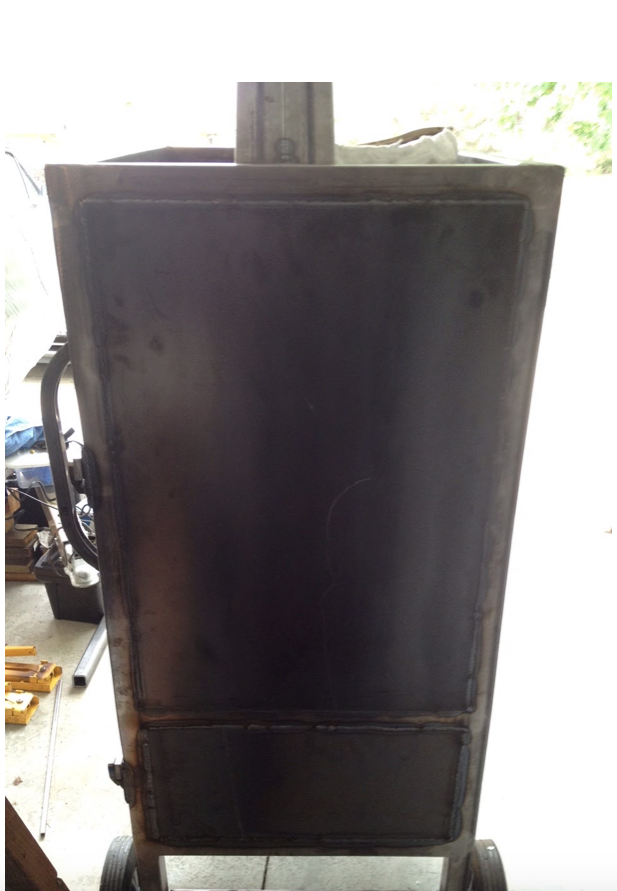
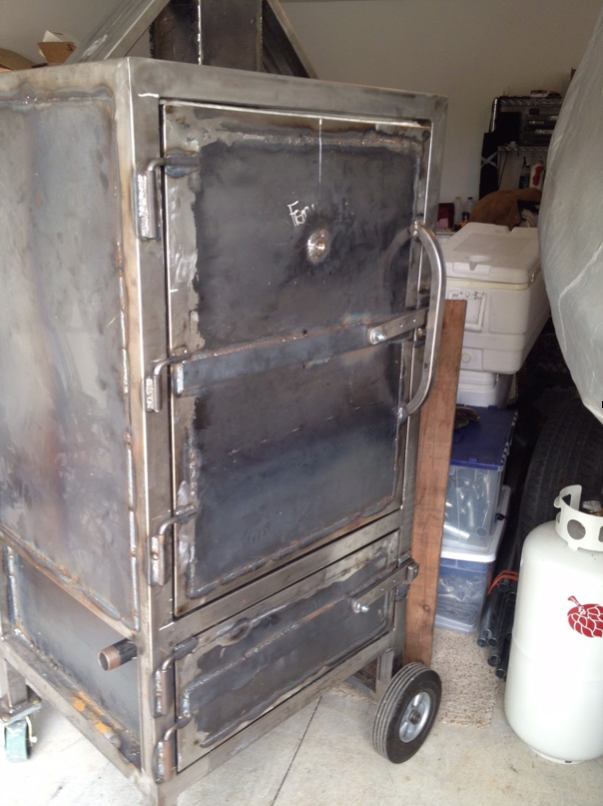

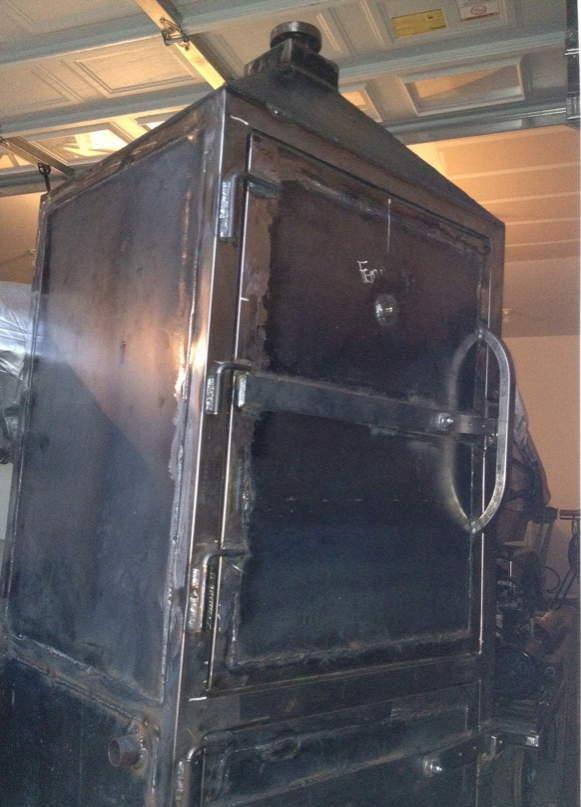
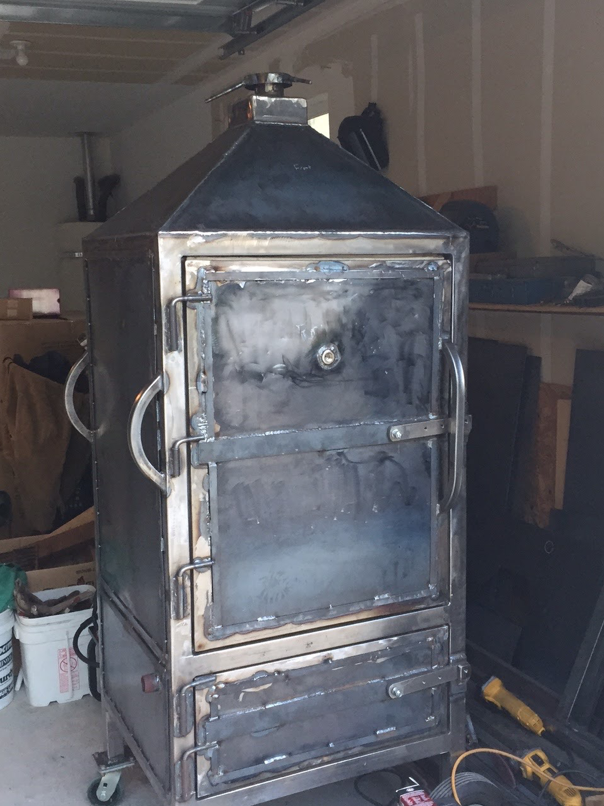
Complete!


Welding Plans:

New! Welding Table
New! Log Splitter
Top Projects:
