How To Plug Your Welder Into Your Dryer Outlet!
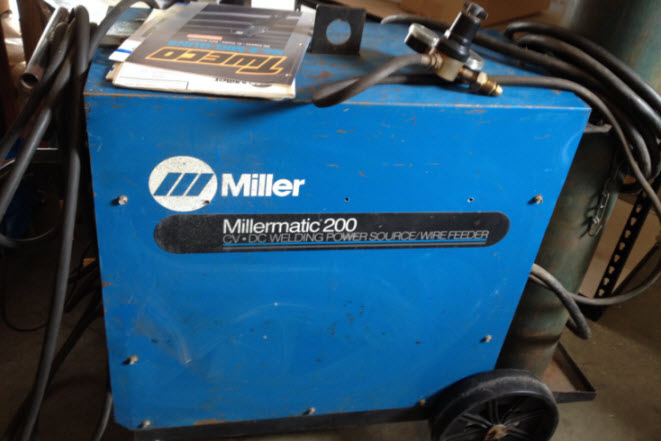
My Millermatic 200 welder plug won't fit into my dryer outlet. The outlet is a single phase 30 amp outlet.
The Miller welder is a 220v MIG welder, and it's maximum output is 40 amps. It's single phase. The outlet is 30 amps and it's single phase.
This old outlet will run my welder just fine so long as I don't try to max it out. But I have some decisions to make as to what I am going to do. What's the easiest solution?
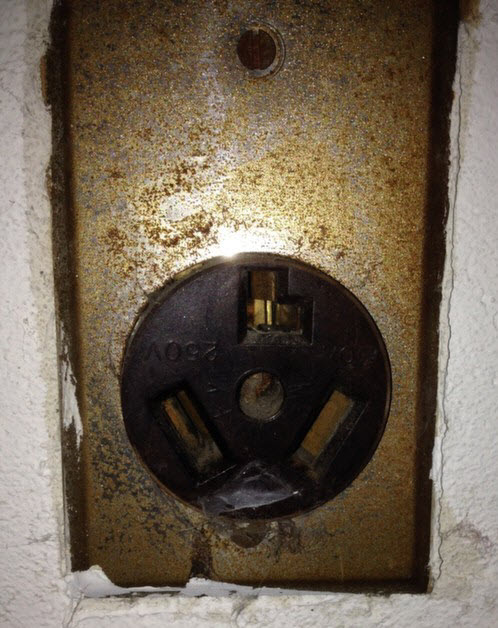
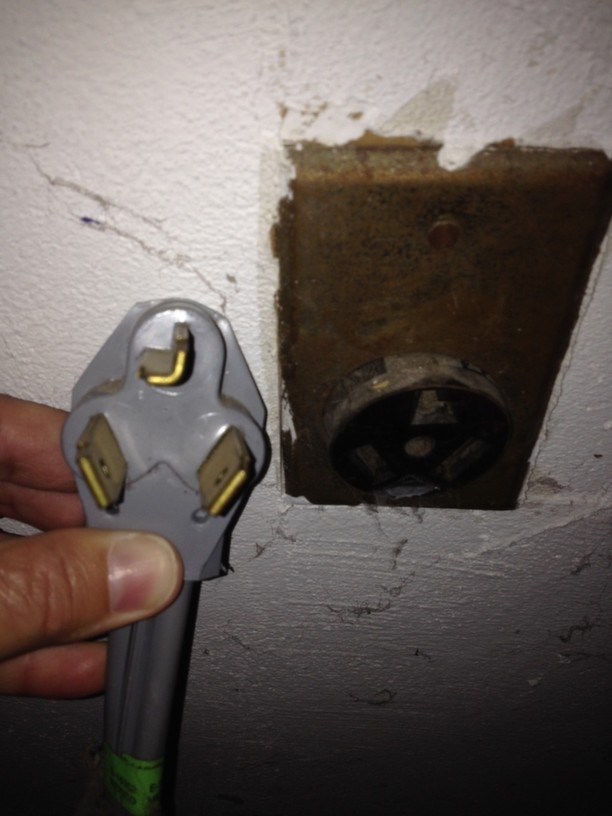
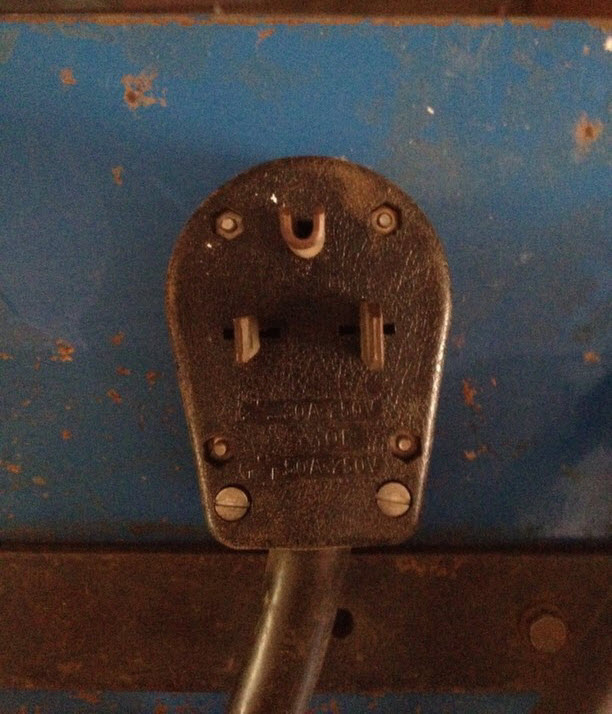
Here's a few pictures of the outlet and the plugs on the dryer and my welder...
Dryer Outlet:
Dryer Plug:
Millermatic 200 Plug:
Outlet Or Plug Conversion?
According to Tim Hale, a subscriber or ours, "If you ever have a fire from using a 40 amp appliance (welder) on a
circuit designed for 30 amps you may have a problem collecting on your
insurance. do it right, install a new 40 amp wiring, circuit breaker
and the correct wall receptacle."
As you can see above, the Millermatic plug is not going to fit into the dryer outlet. So my choices are as follows:
- Should I change the dryer outlet so my welder plug will fit (but then I have to change the dryer plug to fit the outlet)?
- Should I change the plug on my welder to fit the outlet?
- Or, should I install a new outlet for the welder (which requires significant electrical work that I don't have time for and I don't want to fork out the money).
The easiest route for now is to change the plug on my welder. Assuming all goes well all it takes is finding the right plug to convert my welder over to, and then I should be golden. So the first thing I did was find the right plug.
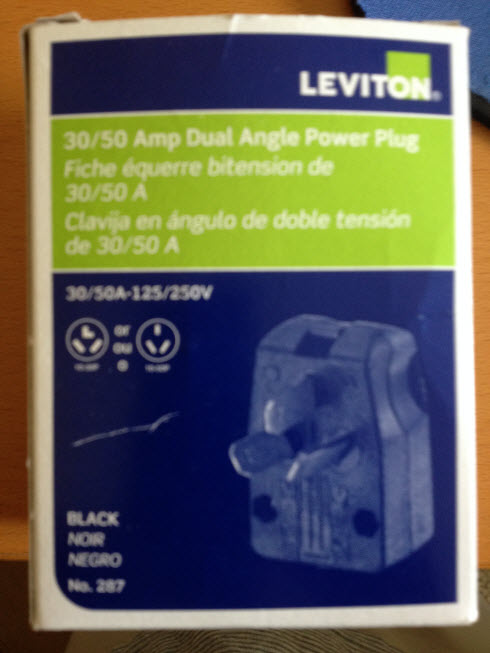
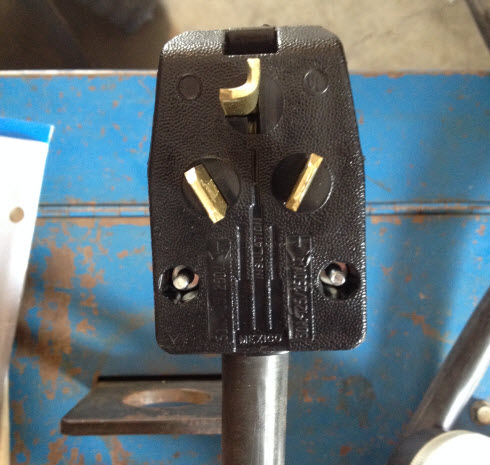
This Plug Should Work:
All we had to do was go to the electrical store and look at the picture of the outlets that the plug will fit into on the boxes (middle left side of the box above), and if it looks right, then that's the one.
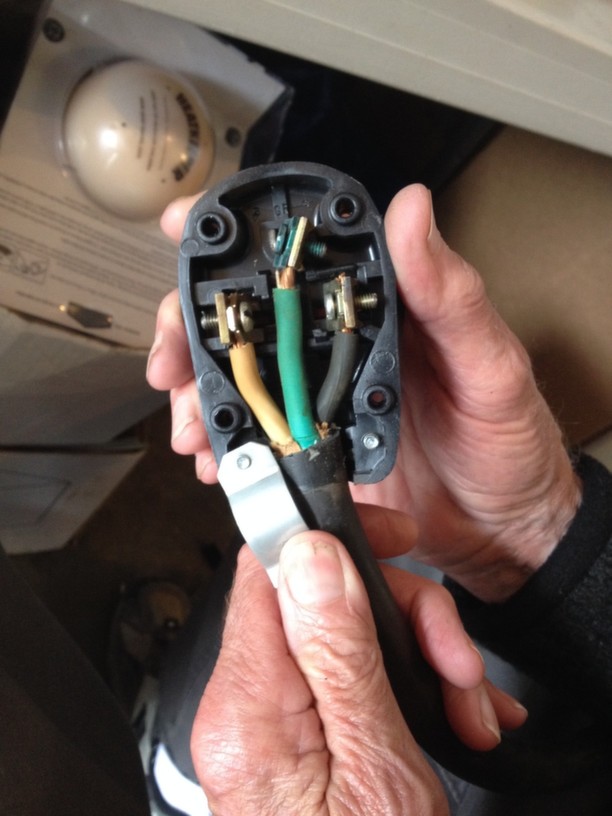
Inside The Millermatic Plug:
In the picture above you'll see the wiring inside the plug of my Milltermatic. The green wire is the ground, and the yellow and black wires are the 110v wires (the yellow one is actually white but it's a little old).
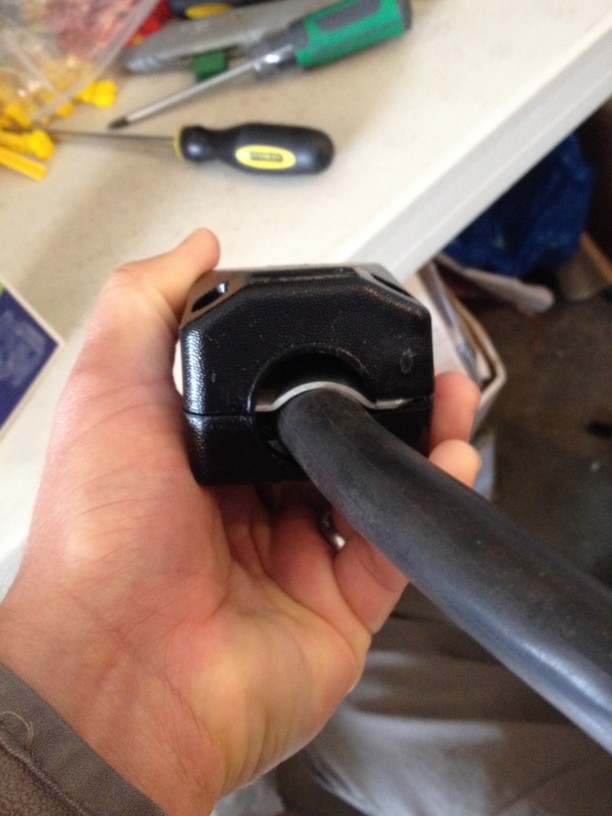
Note the metal wire and cable strain relief on this plug which is in being held by my father in laws thumb. It will come into play shortly.
Step 1: The first step to converting the plug from my 220v welder to the new Leviton plug is to tap out the plug blades, after taking the wire and cable strain relief off.
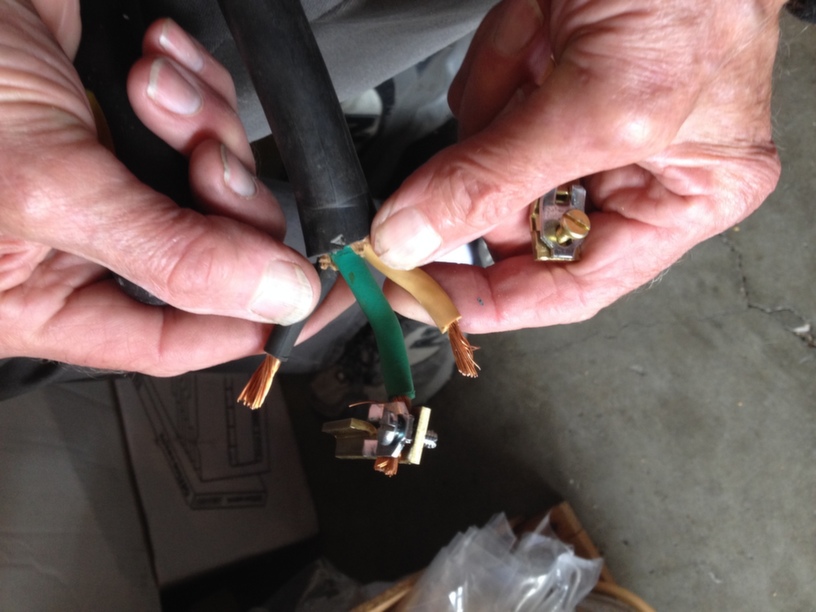
Step 2: Then loosen all the screws that are holding the wires in place on the plug blades, and take the wires out. Now we have the loose wires:
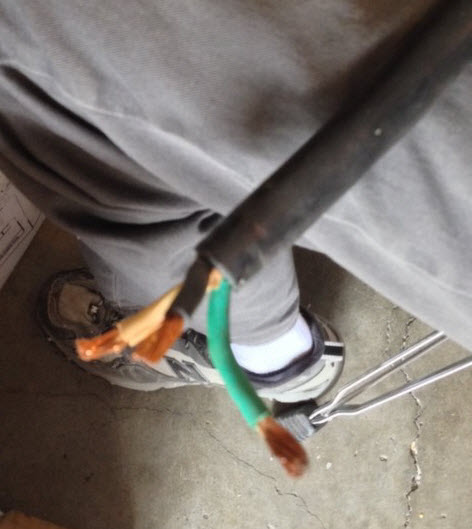
Step 3: Next we have to attach the ground wire to the ground blade from then new Leviton plug we are attaching.
Step 4: After we attach the ground wire we can do the same with the two other blades and attch the white and black wires (110v each) to the blades.
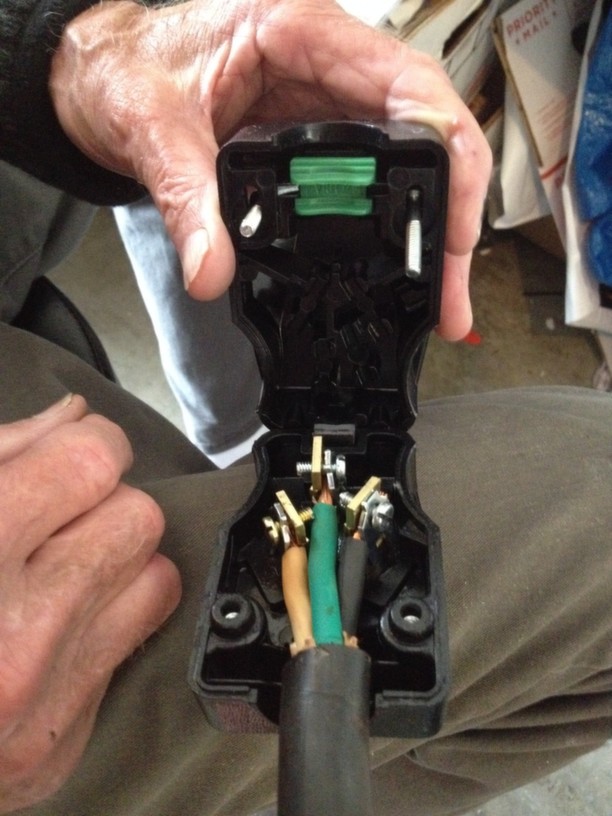
Step 5: After we attach the wires to the blades we simply insert them into the slots inside the plug housing, and insert the plastic strain relief which is the green plastic thin on the top of the clam shell housing (see picture below).
The strain relief is important because without it the wires are more likely to come loose when we plug and unplug it from the dryer outlet. However, in this case the strain relief was sitting on the actual wires and not on the black cable that houses the wires. So we had to come up with an alternative because if we closed the housing and allowed the strain relief to rub on the bare wires you'll have eventually have a dangerous electrical problem...
To fix the problem we took the metal strain relief from the old Millermatic plug and put it into the new plug. We closed the clam shell housing and screwed it down, which secured the metal strain relief. It's not the most ideal solution because we could not screw the actual strain relief in like it was originally in the old plug, but this will work just fine.
Completed 220v Millermatic Plug Conversion:
Now that we have the right plug to fit into my dryer outlet we have to test it to make sure we did everything correctly. So we plugged it into the outlet, and turned on the machine. It works! Now I am in business. This Miller welder is really something.
I am going to do a similar plug conversion on my AC/DC Lincoln Stick Welder to. We'll see how that goes!
I hope this helped. Let me know by sharing or posting a comment. Thanks!
Copyright WcWelding.com All Rights Reserved.
Welding Plans:
New! Welding Table
New! Log Splitter
Top Projects:
